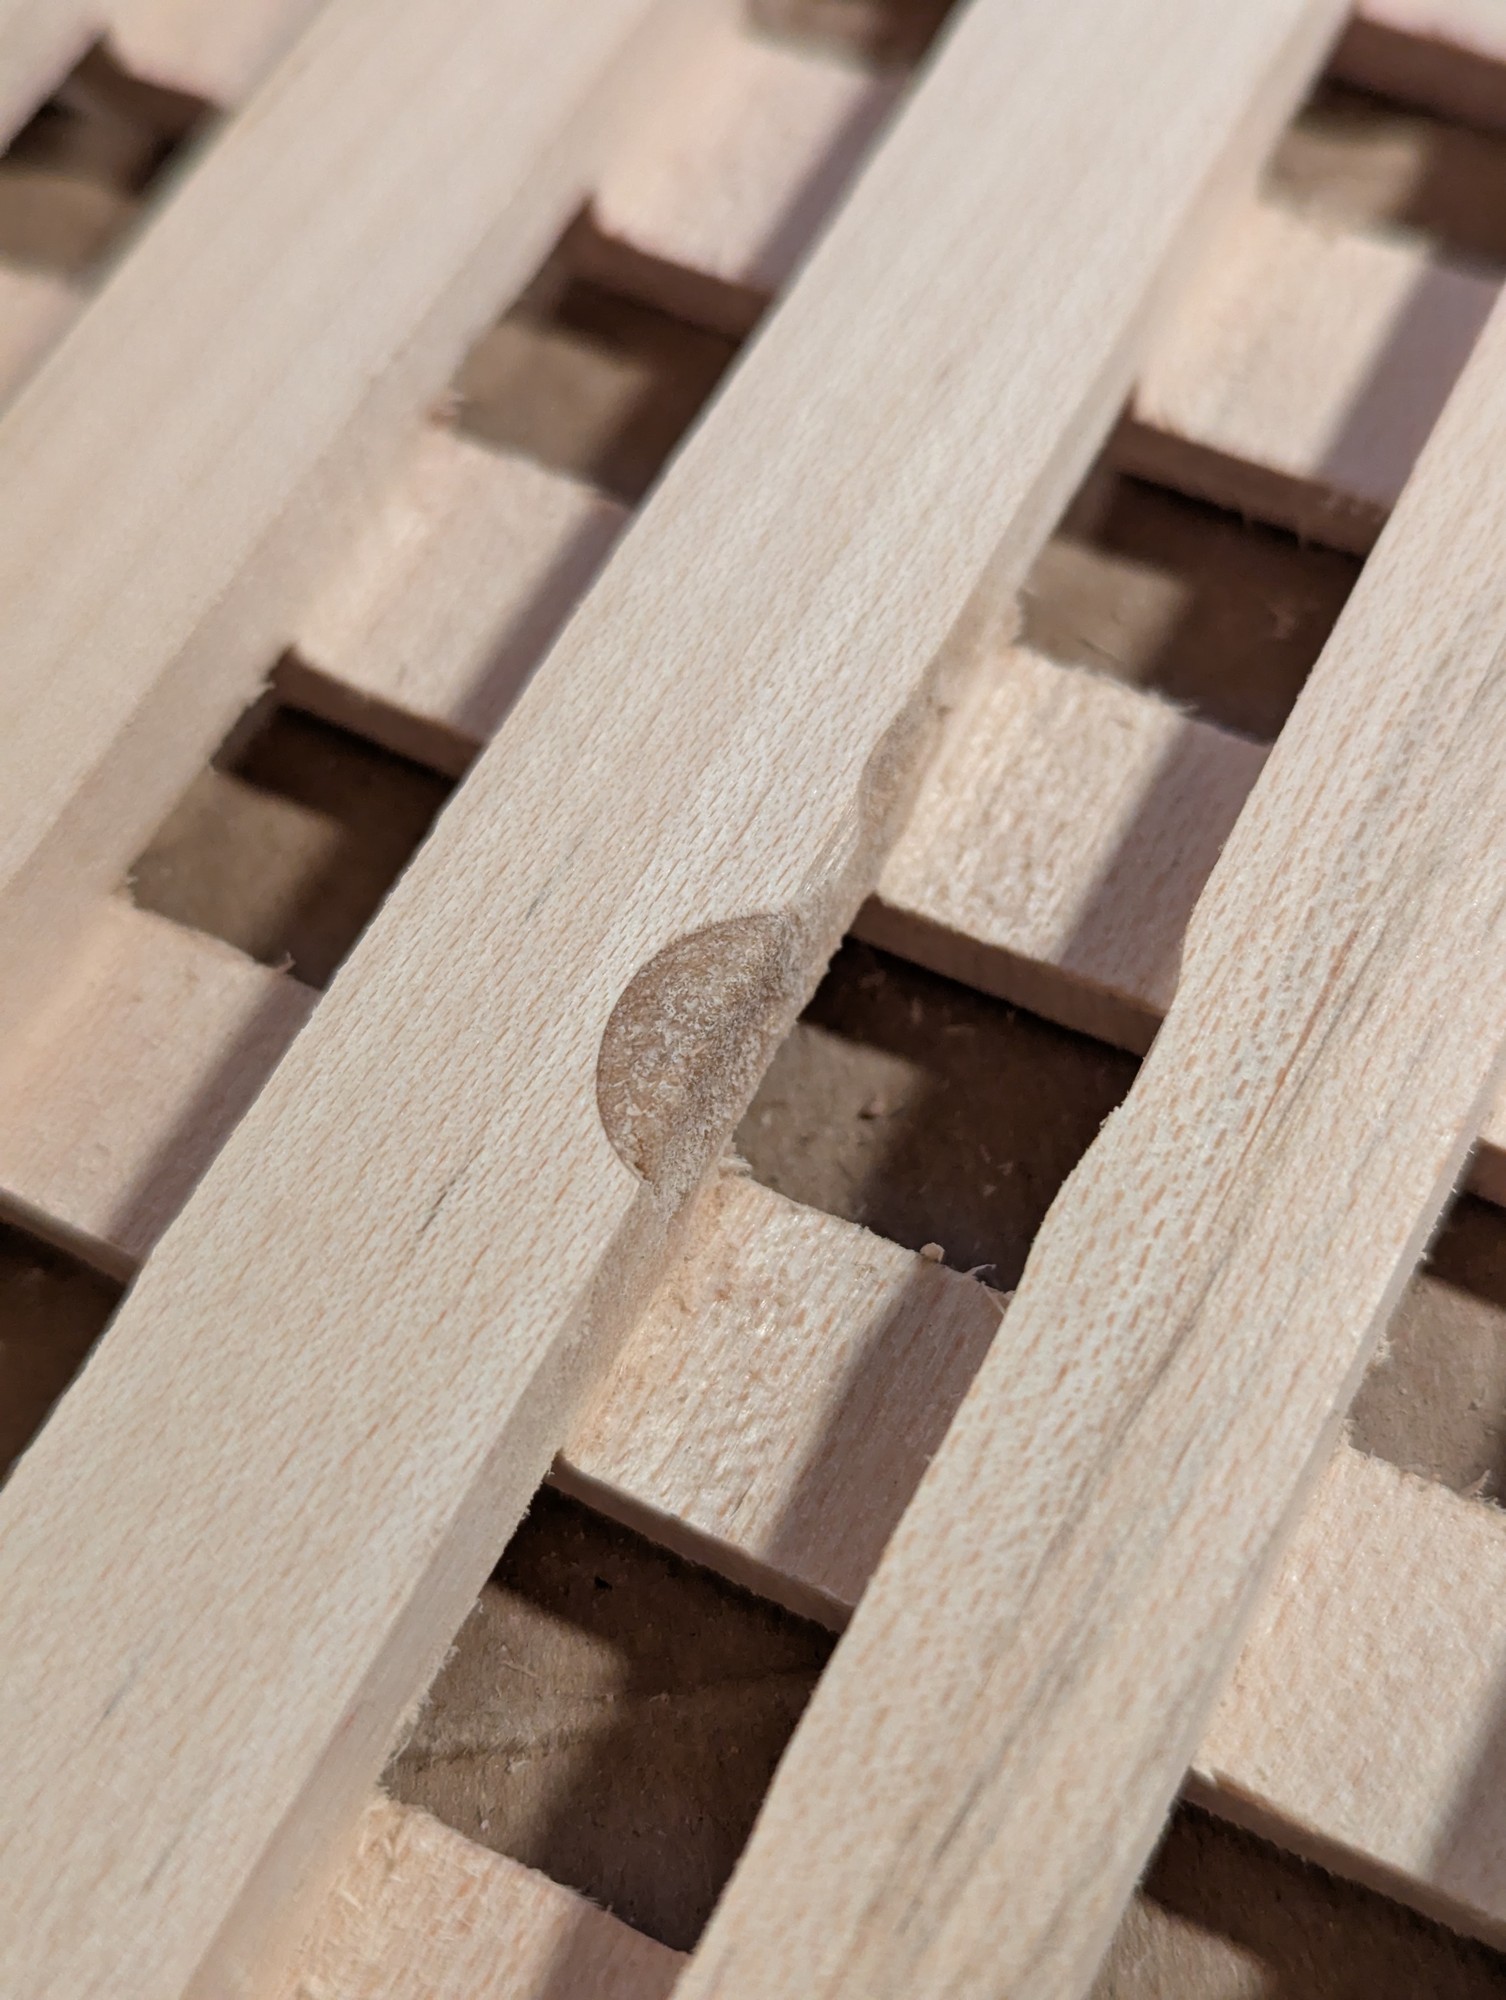
I've heard people say you can mix sawdust from your workpiece with wood glue to make an invisible patch, but I've tried it twice (once in oak, once as pictured on ash) and both times it came out significantly darker and the surrounding wood. The glue is Tite Bond 3.
Does a different glue work better? How wet should the sawdust paste be? This is on the back so it doesn't matter a lot, but I'd like to have a good process for filling little mistakes.
16 Comments
Asafum@feddit.nl · 77 pts · 332d
From a brief search it looks like it was the glue. I don't know much about woodworking, just stumbled on this post lol good luck!
Valorie12@lemmy.world · 59 pts · 332d
pageflight@lemmy.world · 28 pts · 332d
Aha, very helpful, thanks!
captain_aggravated@sh.itjust.works · 44 pts · 332d
It's the glue. Titebond 3 dries surprisingly dark. Titebond 2 doesn't dry as dark but it will still add a bit of an amber cast. If you want the glue to add as little color as possible, use white PVA glue, like Elmer's Glue-All.
I haven't really had good luck making wood filler, I'm more prone to patching with solid wood. Chisel or rout out a regularly shaped divot, fabricate a chunk, glue chunk in place, plane, rout or sand smooth.
Marafon@sh.itjust.works · 39 pts · 332d
Looks like you've got it figured out, but I'll add that this is exactly why I Keep titebond 2 and 3 handy in the shop. 3 is great for Walnut and darker exotics whereas I use 2 more when working with paler species. Titebond 1 is an ugly yellow abomination everyone should stay far away from.
ETA: Also baby wipes are a godsend in the shop for cleaning up glue where you don't want it. Combined with a dry towel afterward you can make life so much easier on yourself by just cleaning the glue while it's wet. It took me over a decade of chiseling off dried squeeze out before I started taking glue up cleanliness seriously. But I'm a slow learner, you don't have to be 😉
Good luck in the shop my friend!
Marafon@sh.itjust.works · 13 pts · 332d
This guy uses a shit ton of glue for his demonstration and then has to sand a lot more than he should to accommodate. Going sparing on the glue and you won't have to sand near as much as him. Otherwise he knows what's he's on about.
https://youtu.be/fB2ACPiV8bQ
wjrii@lemmy.world · 11 pts · 332d
One last point, is that while they call it all "sawdust", make sure you're using sanding dust whenever possible. Finer is better for this application. Full disclosure: due in part to not usually having a ton of fine dust around from whatever wood I'm working on, as well as generally only having one bottle of glue around (usually Titebond II), I haven't had the best of luck making filler.
Marafon@sh.itjust.works · 10 pts · 332d
Also I just went back and read your original question. The trick to this saw dustpatch method is to use very little glue. Start with just a dot of glue right on top of the boo-boo spot and then lightly dab it into the spot with your finger. Then take a piece of sandpaper that is on the more used side (simply because the glue will be picked up by the sand paper and won't be good for much else after this operation) and lightly sand with the grain. The spot that is partially filled with glue should accumulate the freshly sanded (color matched! Booyah!) dust and form a near invisible patch. Then allow to dry for a bit before applying a finish over top. I'll see if I can find a video of the technique.
Marafon@sh.itjust.works · 15 pts · 332d
Bonus comment because I literally just had to do this.
It's not uncommon for me to get tear out when I forget to use blue tape when cutting spline slots. This is an advanced scenario because we are going to have to sand in one direction to make sure we only get walnut dust in the boo-boo.
Using a sanding stick (literally just sandpaper glued to a plywood offcut), because a power sander would be too aggressive, I sand only in the direction of the arrows, I pick the stick up off the piece completely to reset. It's very important not to have any backward movement or you will get the pale maple dust in the boo-boo.
Voila!
pageflight@lemmy.world · 4 pts · 332d
Thanks for the detailed description! Sanding the dust into the repair sounds like a nice technique. And seems like I was using way more glue, trying to make a paste.
ellisk@lemmy.ca · 6 pts · 332d
Always worth doing a test piece first. I haven't had any good results with glue (wood or CA), but if I'm finishing with polyurethane, making a filler with the same poly as the 'glue' is next to perfect.
pageflight@lemmy.world · 2 pts · 332d
Oh interesting. Current piece I'm just finishing with oil, but often I'll be using polyeurethane.
ellisk@lemmy.ca · 3 pts · 332d
If you're going to try it, my advice: mix some very fine sanding dust (maybe 120 or so) with some poly with a putty knife until it's a really thick paste, and then jam it into the cracks... it'll shrink a little so be liberal with it and just sand it before you do the final finish. If you're really artsy too, you can actually paint on matching grain with acrylic and an incredibly fine brush to help it match. I've also just filled up cracks with sawdust and applied a few drops of poly, but it never seems to match quite as well for me that way.
I actually need to try something new for my next oil finish project too, so I'll be keeping an eye on this post, haha.
itsathursday@lemmy.world · 5 pts · 331d
Looks like you found the answer but on an unrelated note and since this is the internet… your lengths of wood on the bottom seem to be cut perpendicular to the grain which will be significantly weaker depending on what you want to do with it compared to the lengths on top.
WbrJr@lemmy.ml · 4 pts · 331d
It seems like it was one board where op cut lengthwiese and sidewise groves in with a router
itsathursday@lemmy.world · 3 pts · 331d
Ah well what do you know